Skeleton·ID user guides
How to display the IP in Ubuntu 20.04
Updated on March 21, 2022
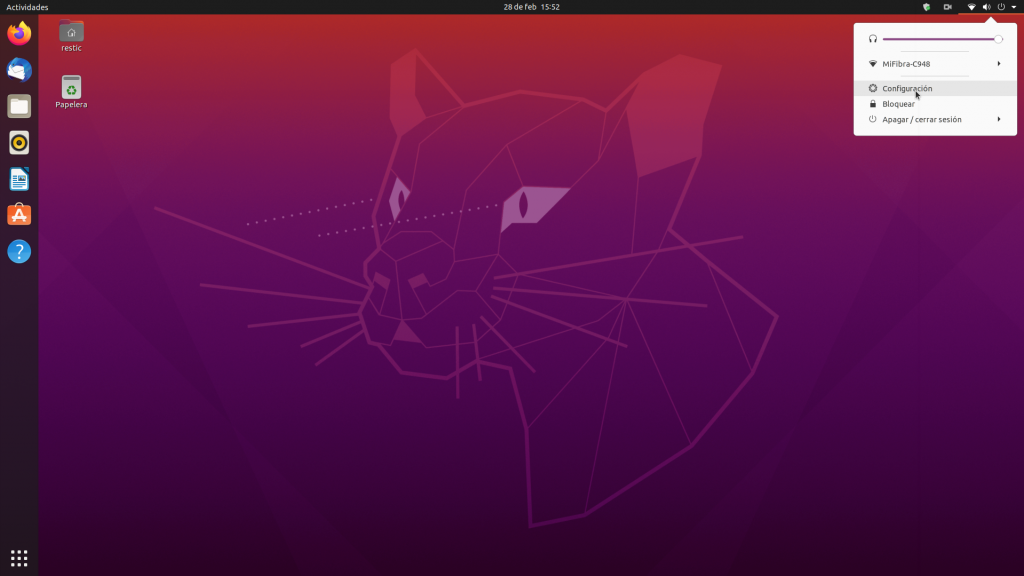
Access the System Configuration, by clicking on ▼, located in the top bar menu on the right. In the appearing panel, we click on the ‘Settings’ option.
Wifi
If the machine is connected to a WiFi network, continue with the following steps. If it is connected to a cable-based local network (LAN), continue reading in the LAN section.
Select the WiFi network from the list this machine is connected to and click on the ⚙ which will open a new window. You will find the IPv4 address there.
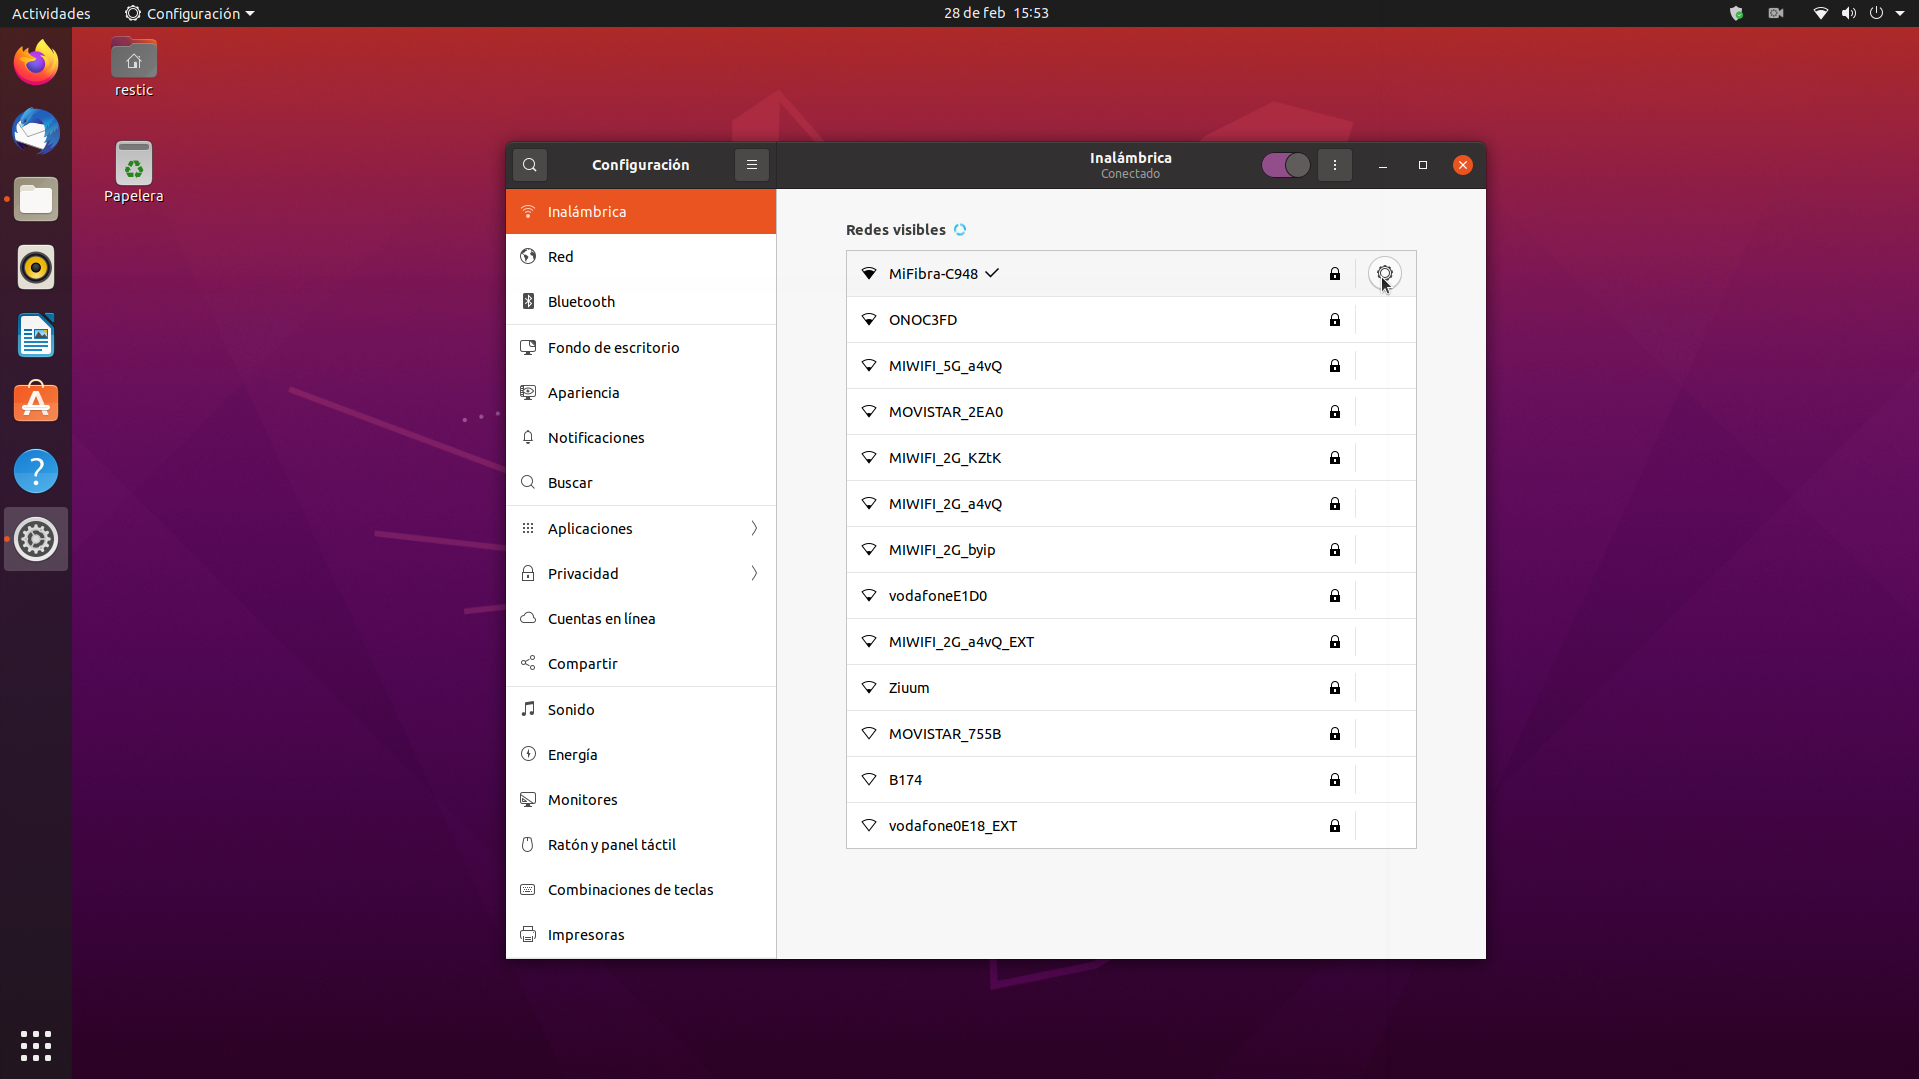
If you are not the administrator of the system you might have to enter the password to access this menu.

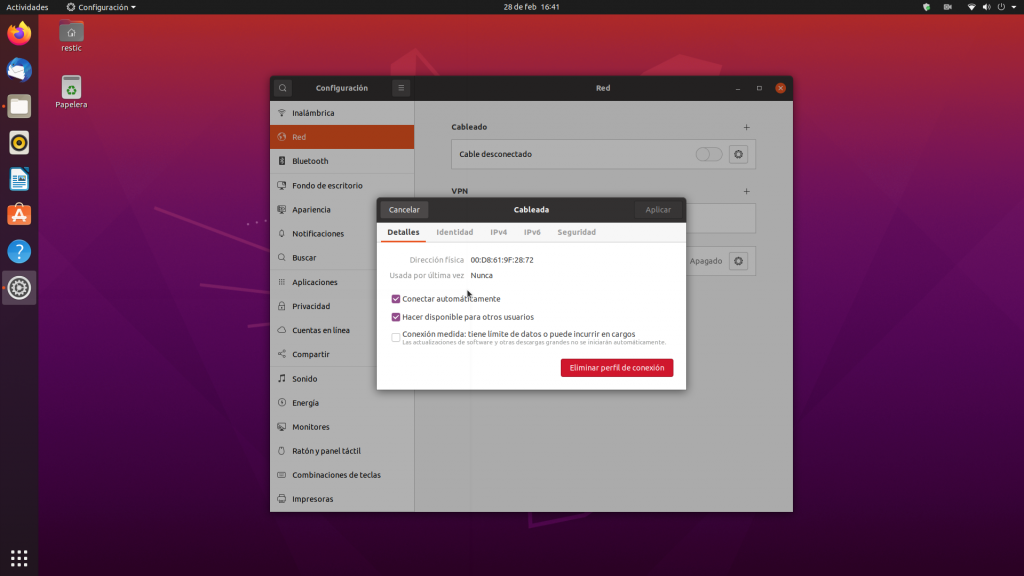
LAN
If the machine is connected to the network via a cable, click on Network in the configuration menu and select the ⚙ situated on the right. You will find the IPv4 address in the new window.
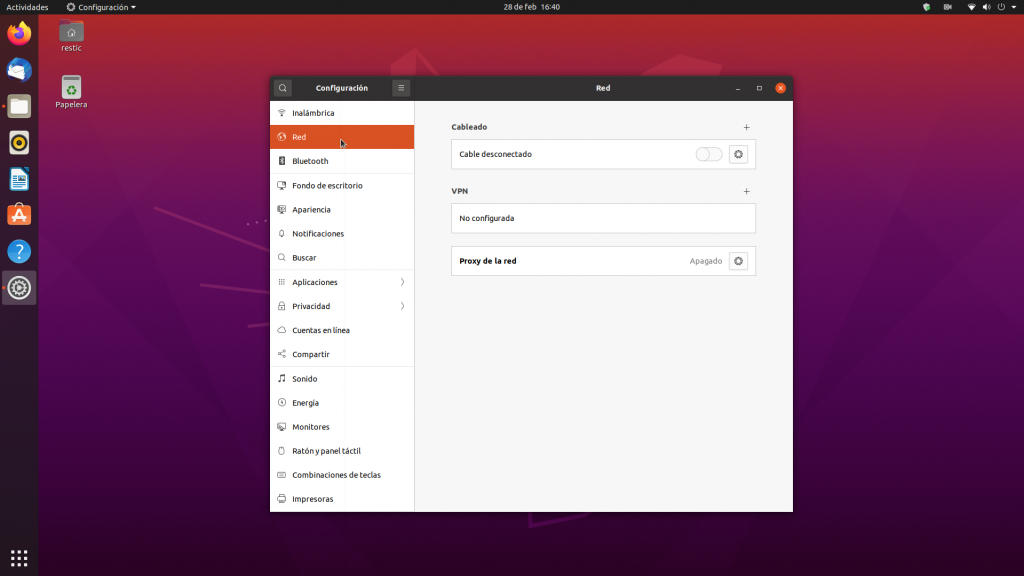

If you are not the administrator of the system you might have to enter the password to access this menu.
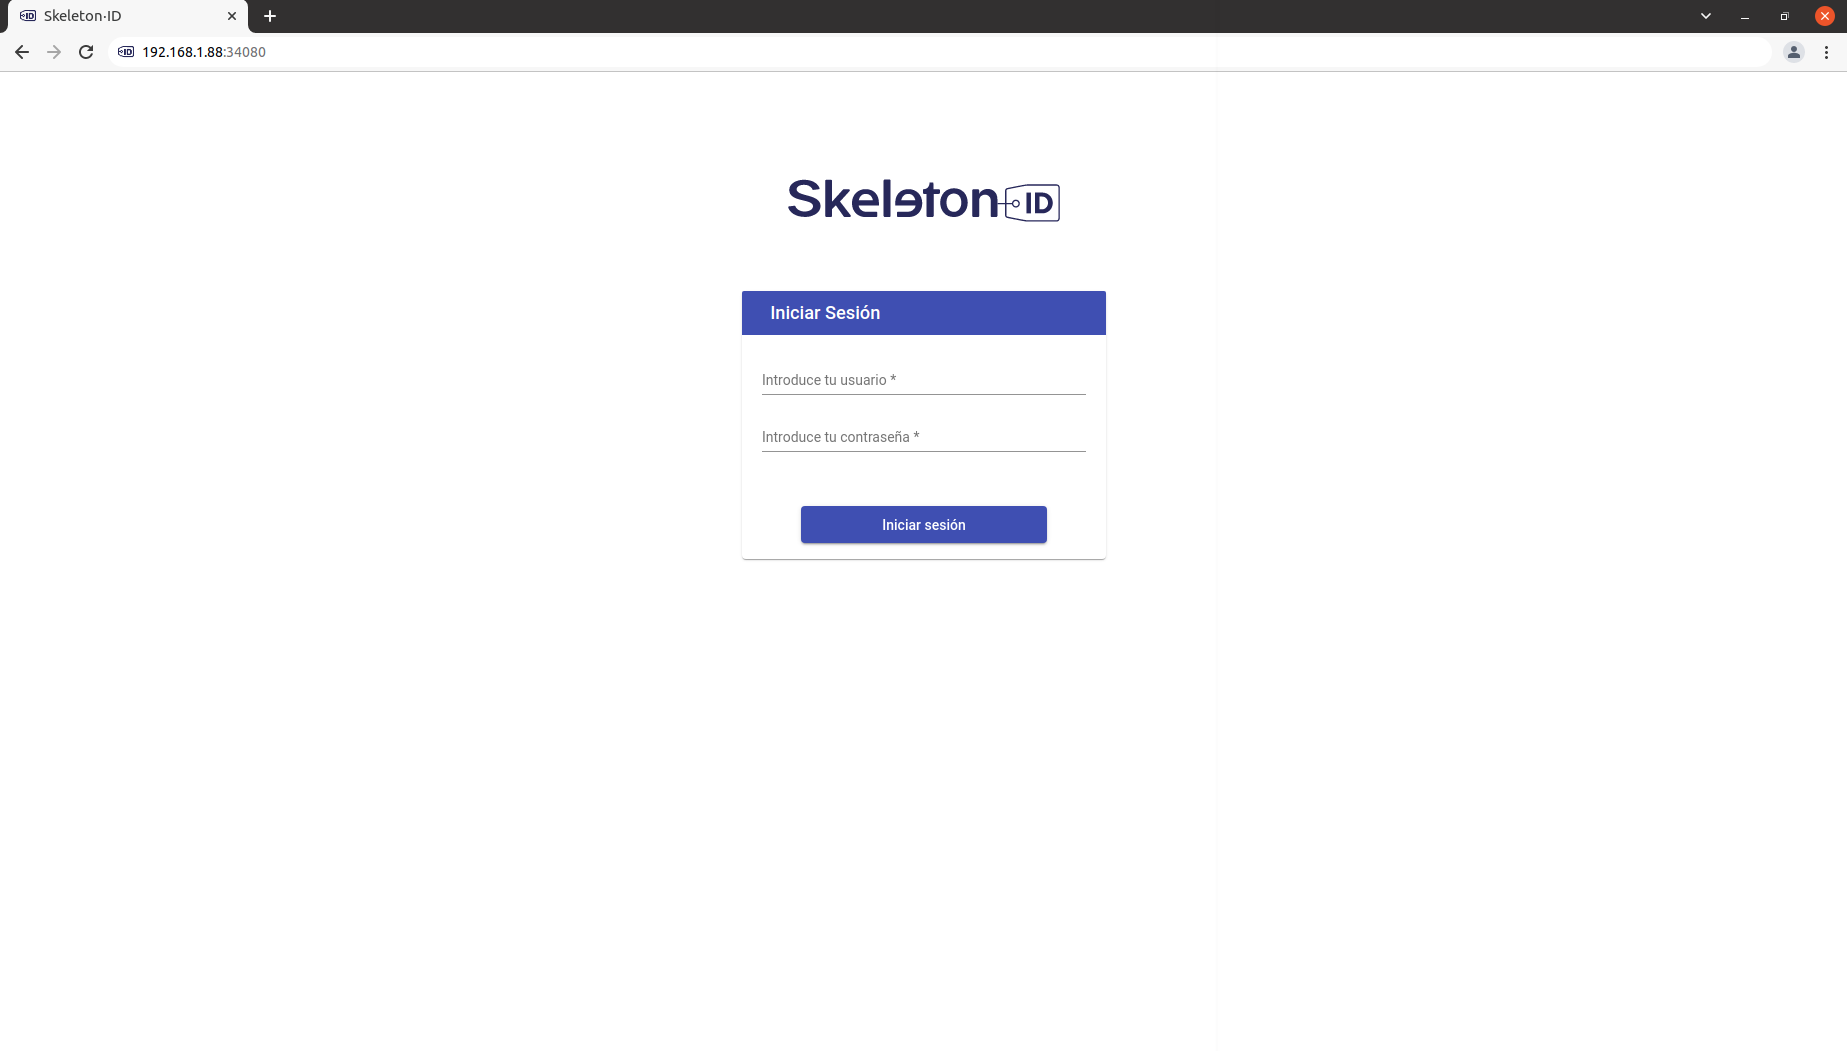
How to access the Skeleton-ID web interface
Once you have located the IP address, open your web browser (Chrome) and enter the IP address followed by ‘:’ and the port number 34080 in the address line. The format is http://IP:port.
In our example this is http://192.168.1.88:34080 but the IP address might differ depending on your network configuration.